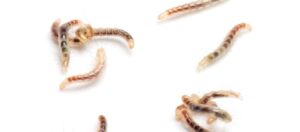
Where is that Urine smell coming from?
Using a UV (ultraviolet) light to find urine stains in carpet
Urine contains phosphorus, which fluoresces under UV light, making it easier to spot the stains. Here’s a step-by-step guide on how to use a UV light to find urine stains in carpet:
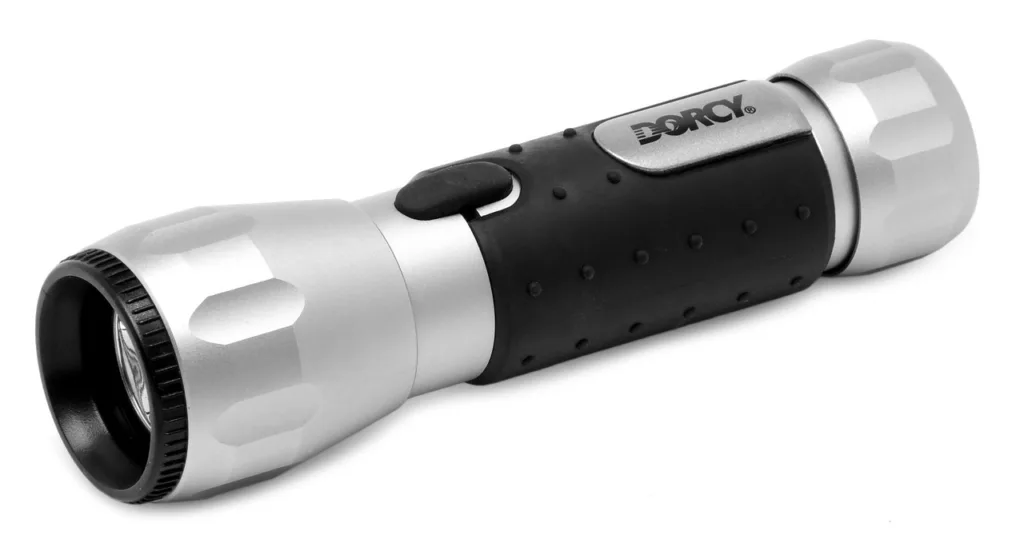
- Choose a UV light: This doesn’t have to be an expensive purchase, you can easily pick these up online at a low price. These lights look like torches and come in various sizes but a small handheld one is all you need.
- Prepare the room: Turn off as many lights as possible in the room to increase the visibility of the UV light. It’s always best to perform this inspection in a darkened room or during nighttime. Closing curtains, lowering blinds and closing any doors will help.
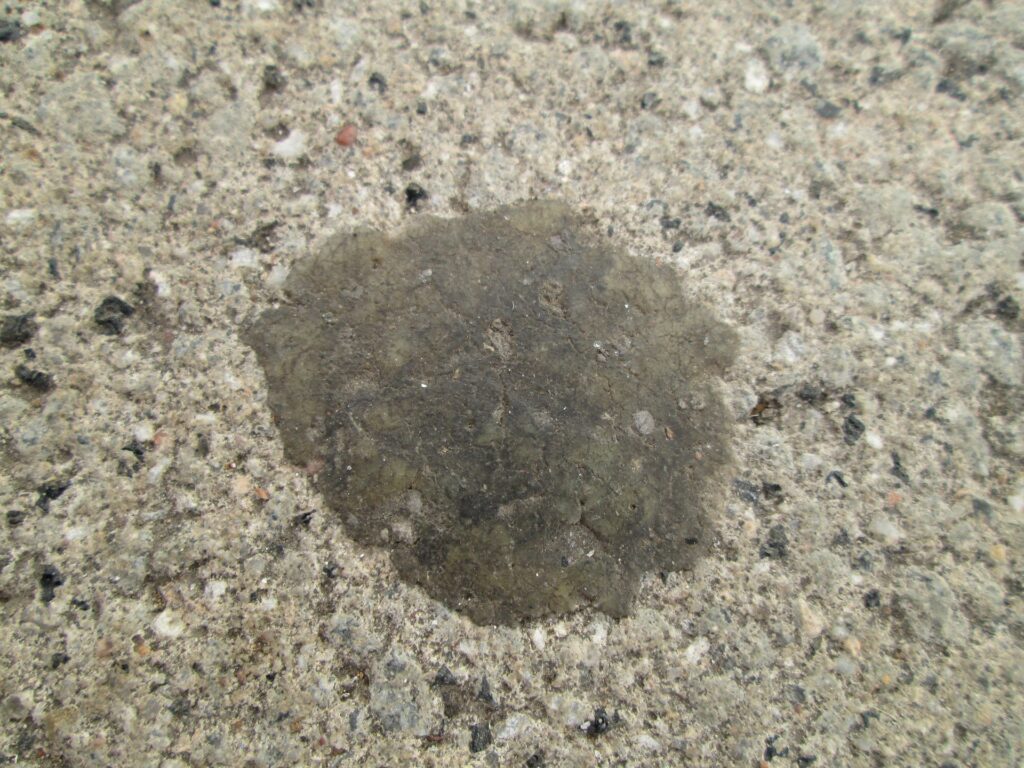
- Inspect the carpet: Hold the UV light close to the carpet surface, about 1 to 2 feet above it, and slowly move it around. Pay attention to any areas that appear bright green or yellowish-green. These bright areas are likely to be urine stains.
- Mark the stains: Once you identify a urine stain, mark the spot with a piece of tape or paper so that you can easily locate it later when you turn the UV light off.
- Assess the extent of the stains: Continue scanning the entire carpet to identify all the urine stains. Some stains may be visible immediately, while others may require a closer look. Take your time to ensure you don’t miss any spots.
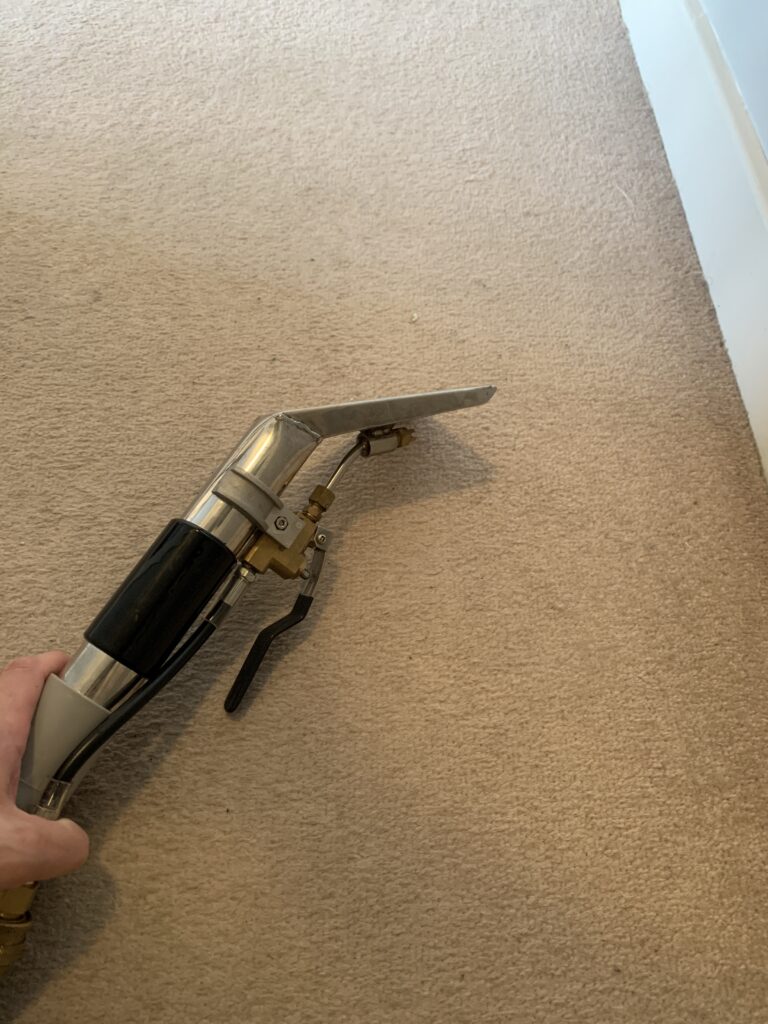
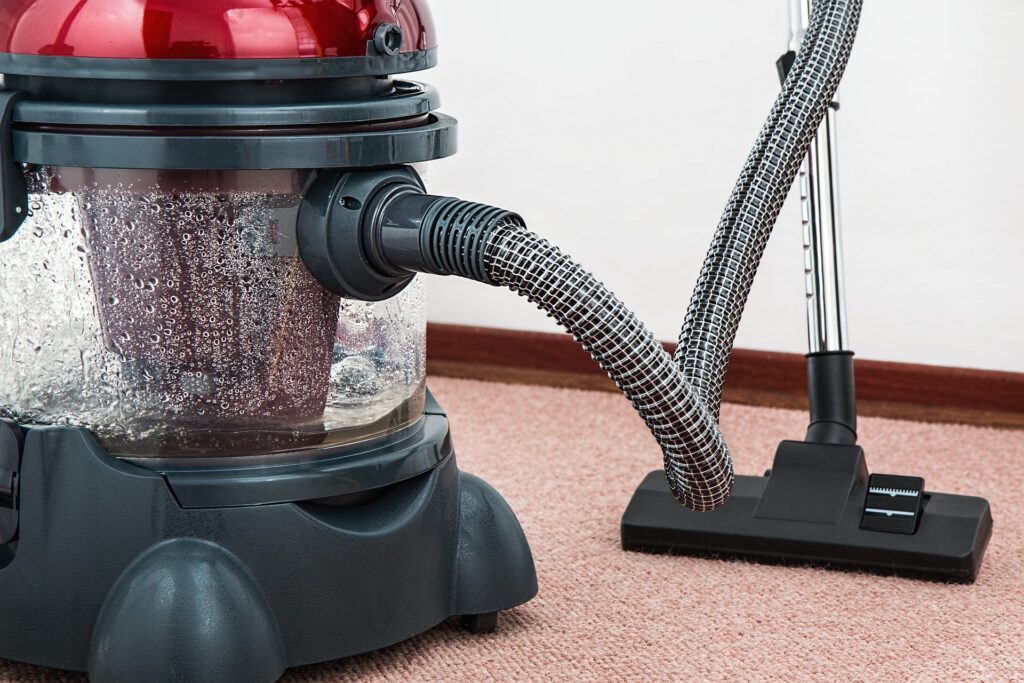
- Treat the stains: After identifying the urine stains, you can proceed with treating them. Spraying a carpet sanitiser or deodoriser will temporally mask the odour. At this stage give us a call. We can arrange for someone to come out and machine extract those areas for you. We can neutralise, sanitise and machine extract those stains for you. Unfortunately, you can never guarantee that the yellowing left behind will disappear, but the odour can certainly be reduced. The main trick here is time. The quicker you get to the area and treat it the easier it is to remove.
Remember, UV lights only help you locate urine stains, but they are not a substitute for cleaning. This is only for identifying and finding where they are. Because UV light can cause nausea when used for long periods of time it’s always advised to wear safety UV protective goggles. Never shine or point the light into your eyes, always hold the device downwards when turning it on and off.
Where is that Urine smell coming from? Read More »